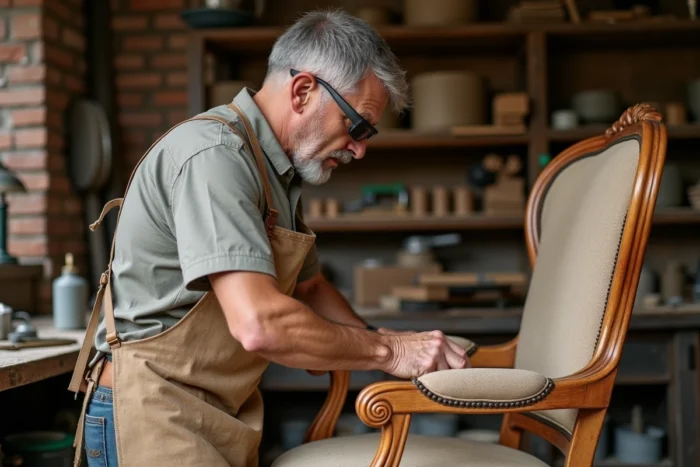
Sanding an antique piece of furniture is not just about blasting an abrasive onto wood. The result depends on measurable parameters: pressure of the sandblaster, grain size of the abrasive, moisture content of the substrate. Comparing these variables helps to understand why some stripping jobs fail while others restore the furniture to a clean appearance, ready for a new finish.
Pressure and Abrasive: The Comparative Table That Changes the Sanding Result
The projection pressure and the type of abrasive alone determine the quality of the stripping. Too high pressure marks the wood, while an unsuitable grain size leaves visible scratches under the varnish.
| Parameter | Classic Sanding (sand) | Aerogommage (microbeads, bicarbonate) |
|---|---|---|
| Typical Pressure | 2 to 4 bar | 0.5 to 2 bar |
| Aggressiveness on Wood | High, risk of digging into soft fibers | Low to moderate, respects the grain |
| Difficult Areas (moldings, sculptures) | Poorly suited, too violent projection | Well suited, finely adjustable pressure |
| Dust Generated | Very significant | Reduced with wet or fine abrasives |
| Finish After Passage | Additional sanding often necessary | More homogeneous surface, light sanding |
On an oak piece of furniture, high-pressure sanding digs into the soft parts of the wood between the hard grains. Aerogommage, with a pressure below 2 bar and a fine abrasive, preserves the natural relief of the oak. To delve deeper into the method and choice of equipment, the secrets of sanding on Conseil Habitat detail each step of the process.
In contrast, on hard and homogeneous woods (beech, maple), slightly higher pressure speeds up the work without damaging the surface. The choice of pressure depends on the type of wood, not the type of furniture.
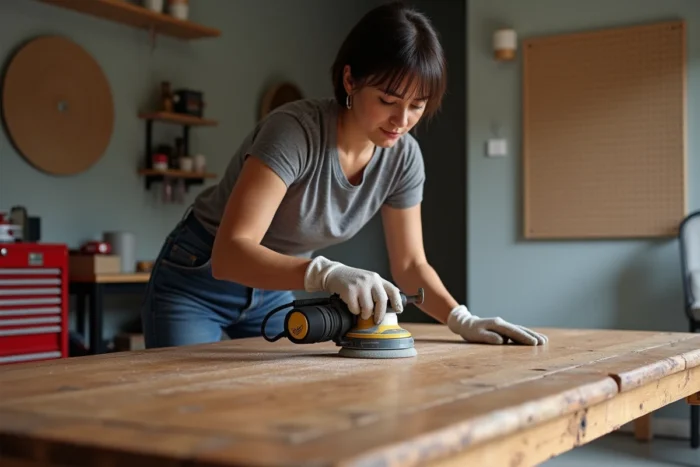
Moisture Content of Wood Before Finishing: The Check That Guides Forget
A sanded piece of furniture seems ready to receive its coat of paint or varnish. Visually, the surface is clean and sanded. The trap lies deeper.
The internal moisture content of the wood must remain below 12% before any new finish. Beyond that, paint or varnish risks blistering or peeling off within weeks. This check, now standard among wood restoration professionals, is rarely mentioned in tutorials aimed at individuals.
A pin-type hygrometer, which is inserted into the wood a few millimeters, provides a reliable measurement in seconds. After wet sanding or if the furniture has been in an unheated environment (cellar, garage), several days of drying in a ventilated room may be necessary before applying anything.
Drying Conditions After Sanding
- Place the furniture in a room with stable temperature, ideally between 18 and 22 degrees, with regular ventilation
- Measure the moisture content of the wood in several places (legs, tops, drawers) as thickness varies and drying is not uniform
- Wait until all measurements fall below the 12% threshold before applying varnish, oil, or paint
Skipping this step compromises the entire stripping and restoration work.
Wood Dust and Sanding: The Regulatory Constraint to Know
Sanding a piece of furniture generates a volume of fine dust that poses a health problem, even in an amateur workshop. The occupational exposure limit value (OELV) is set at 1 mg/m³ over 8 hours for wood dust in France. This threshold concerns workshops and professional contexts, but it gives a clear indication: prolonged exposure to these particles is dangerous.
For an individual sanding a sideboard or a dresser in their garage, the minimum precautions go beyond just a paper mask.
- An FFP2 or FFP3 mask filters the fine particles generated by the projection of abrasive on old wood (which may contain lead residues from old paints)
- A source extraction system, connected to the sandblaster or positioned nearby, reduces the concentration of dust in the ambient air
- Closed protective goggles prevent eye projections, which are common when sanding moldings or vertical surfaces
- Working outdoors or in a largely open space remains the most effective solution when possible
Restoration of Antique Furniture and Sustainable Alternative to New Furniture
Sanding and renovating an existing piece of furniture rather than buying a new one takes on an additional dimension with the tightening of regulations on imported wood. The European Regulation Against Deforestation (ERAD), which is set to come into effect by the end of 2026, aims to prohibit the marketing of wood and derived products linked to deforestation occurring after December 31, 2020.
Restoring an antique piece of furniture made of oak, walnut, or cherry circumvents this issue. The wood is already there, often of higher quality than what is found in entry-level contemporary furniture. A well-executed sanding, followed by an appropriate finish (hard oil, matte varnish, wax), extends the life of the furniture by several decades.
Finish After Sanding: Quick Comparison
Hard oil penetrates the wood and nourishes it deeply but offers limited protection against stains. Varnish creates a protective film on the surface, more resistant to liquids, at the cost of a less natural appearance. Wax gives a satin touch but requires regular maintenance.
The choice depends on the use of the furniture. A dining table withstands a matte varnish better. A bedroom dresser is satisfied with oil. A living room sideboard gains character with wax applied in thin layers.
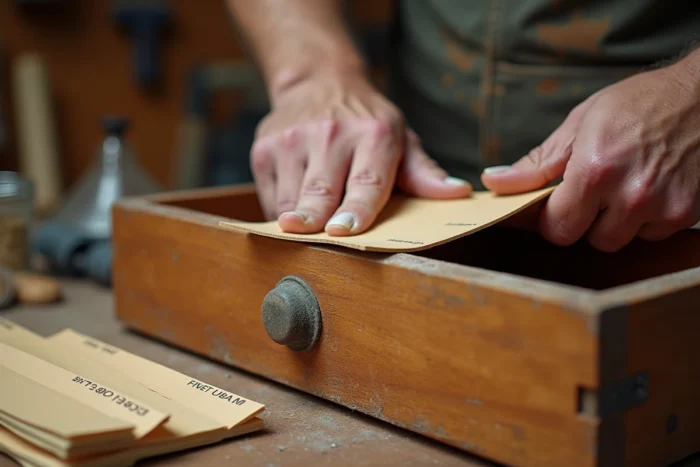
Whatever product is chosen, the preparation by sanding conditions the adhesion and durability of the finish. A grain that is too coarse leaves visible streaks under the varnish. A grain that is too fine on porous wood does not create enough grip. The final pass with fine paper, after mechanical sanding, remains the step that distinguishes an amateur result from a careful restoration.